jack-o-LED
When I was little, carving a jack-o-lantern with my dad was my favorite thing about Halloween. It was a little boy’s dream: creative and messy and you got to use a big knife. In a fit of nostalgia, I decided to make myself a jack-o-lantern this year.
Being an enterprising 22-year-old, I wanted to do something a little more elaborate than the old fashioned jack-o-lanterns I used to make with my dad. After browsing the Internet for ideas, I settled on this awesome Jimi Hendrix design:

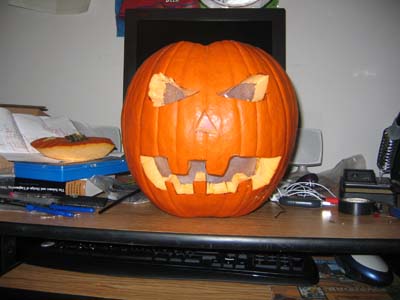
I discovered quickly, however, that I had neither the patience nor the artistic skill (nor the tools for that matter) to carve something so elaborate. I resigned myself to defeat and carved the classic evil-eyed, snaggle-toothed jack-o-lantern of my youth.
But as I was working, inspiration struck. If I can’t do something fancy with the outside of the pumpkin, I can do something fancy with the inside. I had some super-bright LEDs from a previous project and some 555 timers from my electronics lab. I drew up this simple circuit to blink the LEDs on an off:
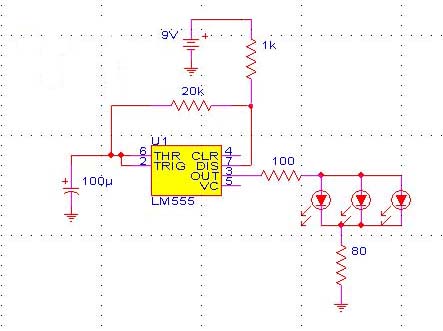
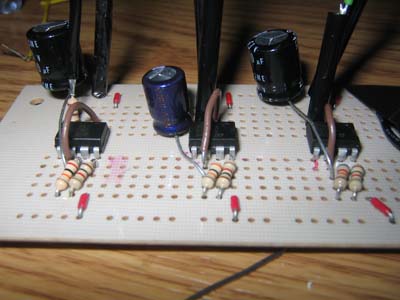
I built 3 copies of this circuit, one for red, one for blue, and one for green. This gave me a total of 9 LEDs. I used slightly different resitor values for each 555 circuit so that the blink frequency would be different for each color, and I would get random color mixtures. The next thing to do was to solder it all to a piece of protoboard.
Since LED light is directional, I covered the holes using piece of wax paper on the inside of the pumpkin to diffuse the light. I also used some aluminum foil on the back side to take advantage of any reflections.
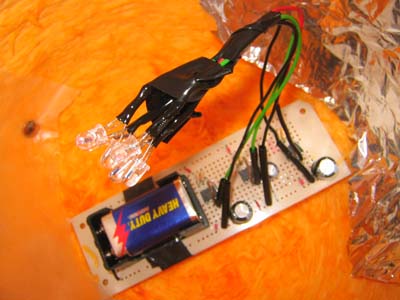
It worked great! . . . for about 30 minutes. It turns out that powering 9 super-bright LEDs while continually charging and discharging three 100 uF capacitors will take its toll on a 9V battery. I had to improvise, so I grabbed an old 9VDC power supply from a cordless phone I didn’t use anymore. I removed the battery holder and soldered a jack to the protoboard.
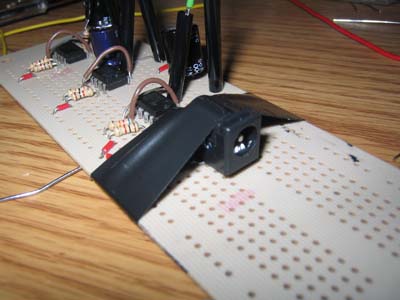
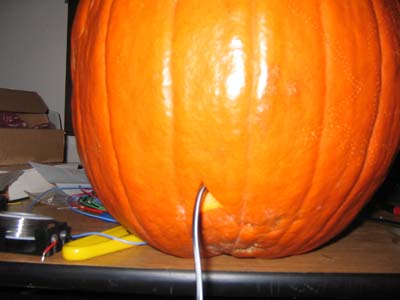
The last step was to cut a little hole in the back of the pumpkin to feed in the power cord.
Check out this youtube video of the lights in action:
This was my first major blog exposure. It got linked on Make:blog and BoingBong.